Before you convert CAD to Gerber, you must download EasyGerb, a plug-in for AutoCAD.
Since EasyGerb is a plug-in for AutoCAD, it must be loaded into the AutoCAD environment before it can be used. Here's an online movie showing how to quickly load EasyGerb into AutoCAD, configure EasyGerb, and convert to Gerber.
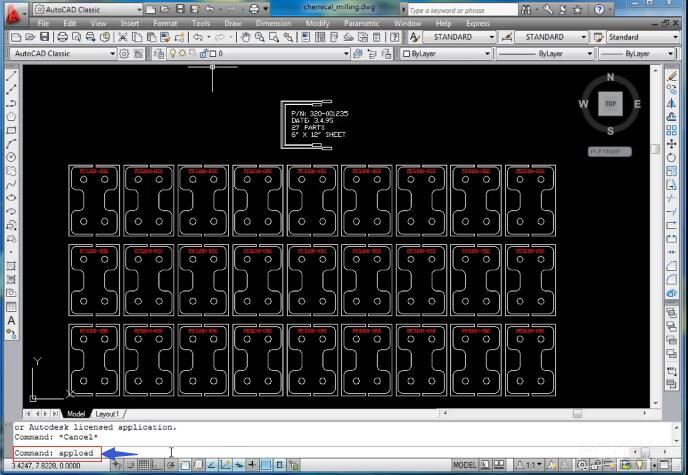
1. Enter the "_APPLOAD" command.
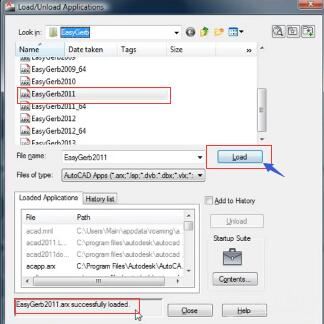
2. Load in the corresponding version of "EasyGerb" by selecting it from the list and then clicking on "Load".
You should see a message saying "EasyGerb successfully loaded" on the bottom of the window.
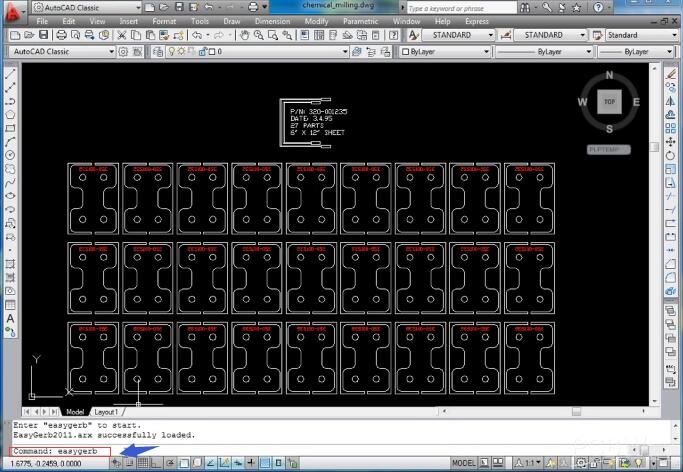
3. To start "EasyGerb" type in the command "easygerb".
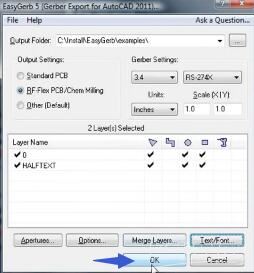
4. Leave everything on default in the pop-up window, then press "OK".
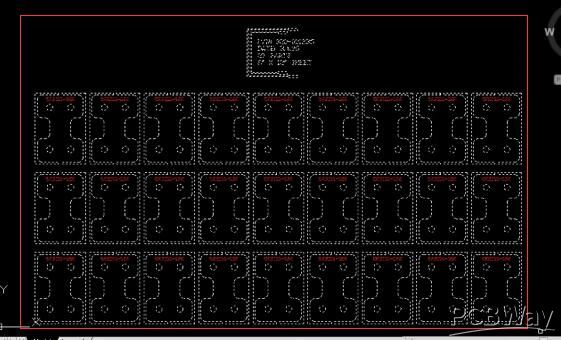
5. Select the area for the generation of Gerber files.
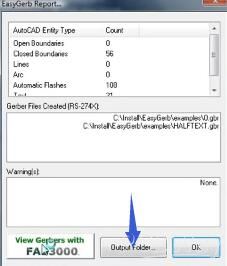
6. Choose the place of the files with the "Output Folder" button, then press okay to create the Gerber files. "OK".
It is recommended that you check the generated files with a Gerber Viewer.
Check the extensions of every generated file according to the table below. Rename them if necessary. After that, put them in a ZIP and then upload it to the Nyákfutár's order site.
Changing the Gerber file extensions
In case of 2 layers:
| Layer | Extension |
| Top Layer | pcbname.GTL |
| Bottom Layer | pcbname.GBL |
| Soldermask Top | pcbname.GTS |
| Soldermask Bottom | pcbname.GBS |
| Silk Top | pcbname.GTO |
| Silk Bottom | pcbname.GBO |
| NC Drill | pcbname.TXT / XLN |
| Mechanical Layer | pcbname.GKO / GML |
In the case of one layer, only the "Top" és "Bottom" files are required.
Additional Gerber files in case of 4 layers:
| Layer | Extension |
| Inner1 layer | pcbname.G2L / G1 |
| Inner2 layer | pcbname.G3L / G2 |
Increasing the number of layers of the PCB will result in more inner layers.

